What is Celestia Network
Celestia Network is changing the way blockchains work by making them more flexible and scalable. Unlike traditional blockchains, Celestia separates the processes of data availability and consensus from transaction execution. This means developers can create custom blockchains that are more efficient and better suited to their needs. The network uses advanced technologies like data availability sampling (DAS) and Namespaced Merkle Trees (NMTs) to handle large amounts of data securely and smoothly.
Celestia was founded by Mustafa Al-Bassam, John Adler, and Ismail Khoffi, who wanted to overcome the limitations of older blockchains. Their vision was to create a platform that makes building new, powerful decentralized applications easier. With Celestia, developers have the tools to build the next generation of blockchain technology, making it a key player in the future of decentralized networks.
How Celestia Network Works
Celestia Network separates a blockchain’s tasks into distinct layers, making it more efficient and scalable. Here’s how it works:
- Modular Design: Celestia splits the work of a blockchain into parts. It handles data availability and consensus (ensuring all nodes agree on the data) but leaves executing transactions (the actual processing) to other layers built on top of it. This modular approach allows developers to create specialized blockchains that can be more efficient and easier to manage.
- Data Availability Sampling (DAS): Instead of requiring every node to download all the data, Celestia allows nodes to check small pieces of the data. The network can trust that all the data is there if these pieces are available. This method helps the network handle more data without becoming too heavy or slow.
- Namespaced Merkle Trees (NMTs): These trees help organize the data so that applications using Celestia can quickly access only the data they need, without being bogged down by irrelevant information.
Overall, Celestia’s design makes it a powerful platform for creating scalable and flexible blockchains, allowing more innovation in decentralized applications.
TIA Coin: From Airdrop to Opportunity
TIA Coin is the heart of the Celestia Network, serving as the primary token used for transactions, governance, and staking within the ecosystem. When TIA was first launched, the Celestia team conducted a significant airdrop, distributing tokens to early adopters and ethereum community members. This airdrop was a strategic move to decentralize the network and incentivize participation from a wide range of stakeholders.
Following its launch, TIA Coin saw a dramatic price increase, starting at around $2 and skyrocketing to $20 during its peak. This surge reflected growing excitement and confidence in the Celestia Network’s innovative approach to modular blockchains. However, as with many cryptocurrencies, the price eventually stabilized, and TIA is currently trading at around $3. This correction presents a potential opportunity for new investors to get involved at a more accessible price point.
If you’re interested in buying or selling TIA Coin, you’re in luck! In the next step, we’ll guide you through the process using RocketX Exchange, ensuring you can easily manage your TIA tokens.
How to Bridge and Swap Assets to TIA Network Using RocketX
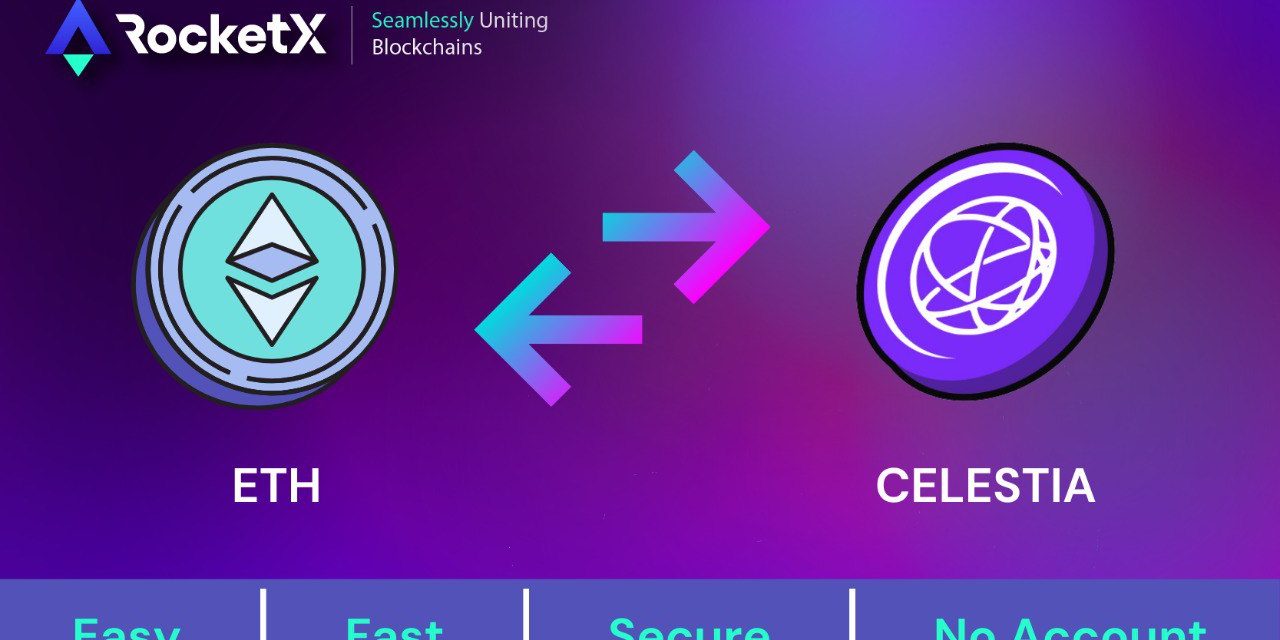
You cannot purchase TIA directly with fiat currencies or credit cards. However, you can still acquire TIA by bridging and cross-swapping your existing cryptocurrencies to the TIA network using RocketX Exchange. Here’s how you can do it by converting ETH to TIA:
Step 1: Connect Your Wallet
Begin by connecting your cryptocurrency wallet to RocketX. If you’re using MetaMask or a similar wallet, ensure it’s set to the network where your ETH is stored, such as the Ethereum network.
Step 2: Select Networks and Assets
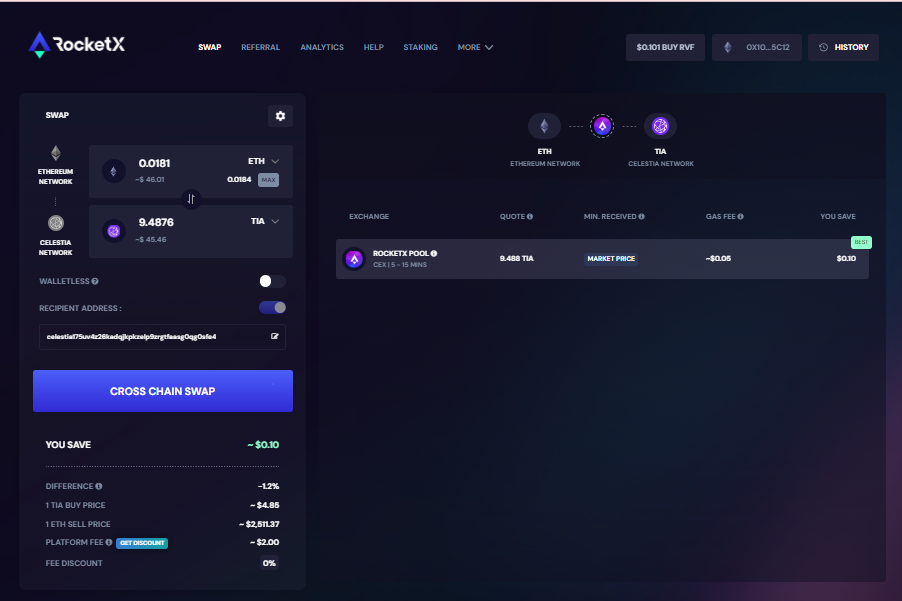
In the RocketX interface, select Ethereum as the source network and choose ETH as the asset to bridge. Next, set TIA Network as the destination to initiate the transfer of your ETH. While this guide focuses on swapping ETH to TIA, you can swap or bridge any cryptocurrency to TIA using RocketX Exchange.
Step 3: Specify the Amount
Enter the amount of ETH you wish to convert to TIA. Ensure your wallet has enough ETH to cover both the transfer and any associated network fees.
Step 4: Enter Your TIA Wallet Address
Input your wallet address on the TIA Network where you want the converted TIA tokens to be sent. Double-check the address to avoid mistakes, as errors could result in the loss of funds.
Step 5: Confirm and Execute the Swap
Review all transaction details, including the amount of ETH, the networks involved, and your TIA wallet address. Once everything looks correct, click “Cross Chain Swap” to initiate the process. Confirm the transaction in your wallet when prompted.
Step 6: Verify in Your TIA Wallet
After the swap is complete, check your TIA wallet to ensure the tokens have arrived. You can now use your TIA tokens within the Celestia ecosystem.
Note: This guide focuses on converting ETH to TIA, but RocketX supports a variety of networks, allowing you to swap assets from different blockchains to the TIA Network, and giving you access to the innovative and scalable Celestia blockchain.
Best Wallets to Store TIA Tokens
When storing your TIA tokens, security and compatibility are key. Leap Wallet is an excellent choice, supporting over 250 tokens and 70+ chains, and allowing you to stake TIA directly. Cosmostation is another reliable option, particularly suited for those familiar with the Cosmos ecosystem, offering both staking and top-notch security. Keplr Wallet is also popular, especially for its browser extension feature, enabling easy management and staking of TIA tokens directly from your web browser. Each of these wallets ensures your TIA tokens are stored safely and efficiently.
How to Stake TIA Tokens Using Keplr Wallet: A Quick Guide
Staking TIA tokens on the Celestia Network using the Keplr wallet is a straightforward process. First, open your Keplr browser extension and navigate to the “Staked” section. Click on “Stake with Keplr Dashboard,” which will open a new tab. In the dashboard, select the Celestia network and browse through the list of validators. Choose a validator that suits your preferences.
Next, enter the amount of TIA tokens you wish to stake and click “Stake.” A Keplr popup will appear, asking for your approval to complete the transaction—simply click “Approve.” After the transaction is confirmed, you’ll be directed to an overview dashboard where you can manage your staked tokens. From here, you can claim rewards, unstake, redelegate, or stake additional tokens as needed.
By staking TIA, you’re not only securing the Celestia network but also participating in its governance.
Conclusion
In conclusion, the Celestia Network offers a groundbreaking approach to blockchain technology, enabling more scalable and customizable solutions through its modular design. TIA Coin plays a pivotal role in this ecosystem, providing opportunities for staking and governance. By following the steps to acquire and stake TIA, and using secure wallets, you can effectively participate in and benefit from the Celestia Network. Whether you’re a developer or an investor, Celestia’s innovative framework opens up new possibilities in the decentralized world.

